Painting a Striped Wall
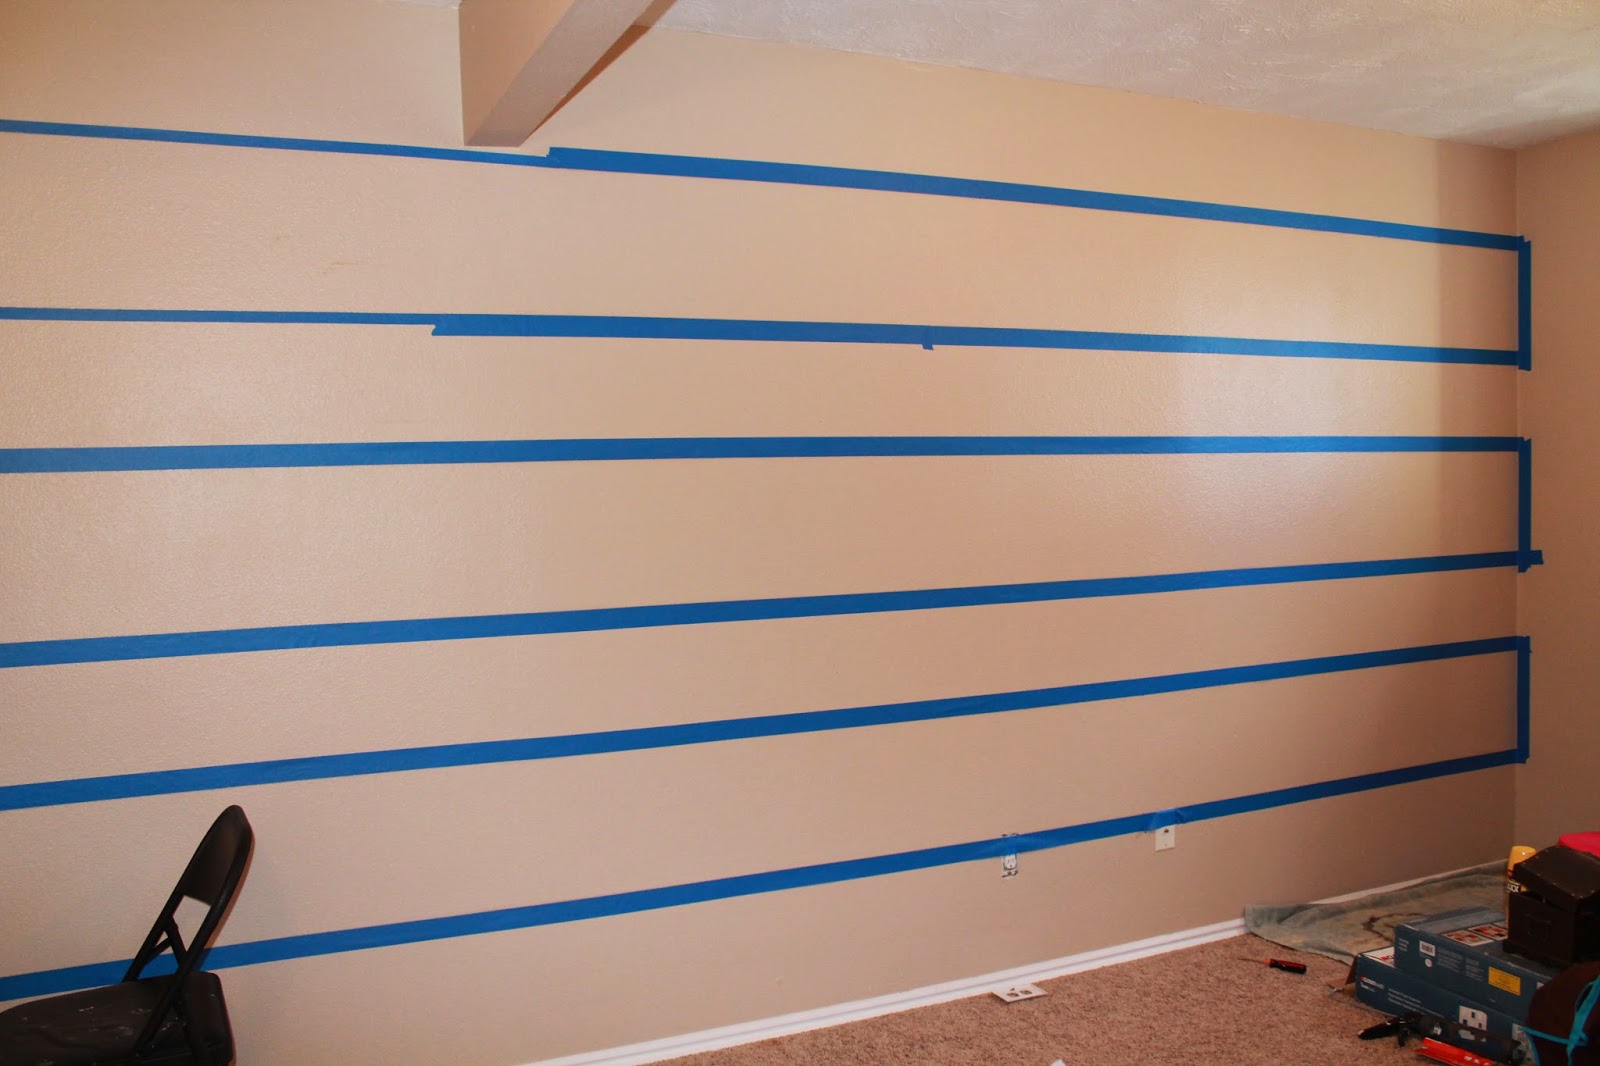
I am so happy I did this striped wall in the toy room! It made the room feel brighter and bigger! It was pretty simple and only took a few hours to complete. These tips helped to make a pretty fool proof way to paint without getting drips.
Supplies I used was painters tape from 3M, the thicker size I think is better and it took a full roll plus a little bit more so it'd be best to buy 2 of them, I had to use a thinner size because it's what I had after I ran out. You will need a paint brush and a small roller. I used a roller with a semi smooth surface. Paint, if you want to go cheap just know it is better to buy a smaller can of the more expensive paint that has the primer included because the cheap walmart brand will have you putting on coat after coat! Trust me it is way more worth it to get like the Behr brand instead with the primer in the paint. pencil for marking, a level, measuring tape.
Step #1
You want to measure your wall in inches then divide that by 7, it's best to do lines in an odd number plus it makes it so you don't have to paint around the ceiling or floor. After I divided by 7 my number was like 13.14, so keep it simple and do 13" stripes, it leaves the lower one a little bigger but it isn't even noticeable. Use a pencil and your level to make sure your line stays straight. After you get your lines penciled on all the way across then tape, make sure you tape on the outside of your pencil mark so your paint lines are the full 13" or whatever you have in inches. also go outside your pencil line a little bit so the paint will cover it up. smooth the tape down completely.
#2 using a brush paint along edges and corners with a thin amount of paint and focus on painting towards the center of the stripe so you don't push the paint into the tape. You're going to start working in sections, so lets call the stripes your painting stripe 1-3. 1 being the 2nd stripe from the top of the ceiling. "Cut in" or paint along the tape in stripe #1. Then roll the paint onto stripe #1.
#3 move to stripe #2 and cut in and roll the paint. Go back to Stripe #1 and roll another coat- if it looks solidly colored then take the tape off of stripe #1. Cut in Stripe #3 and roll with paint. Roll another coat on stripe #2. Pull tape off of stripe #2. Paint another coat on stripe #3 and remove tape.
If your stripes need more coats than 2 then work it in, the goal is to remove the tape before the paint dries. If your paint is still wet the tape will remove without peeling your paint...however if it has dried then you will be doing a lot of touching up! So save yourself the heartache and remove the tape before it has dried. I had company come in the middle of painting stripe #2 & #3 so I ended up having a little bit of peeling on stripe 3 because it had already started to dry.
Tadaa!! Your stripes are finished and fabulous! Continue checking back for the makeover of the toy room reveal!


Looks good Amy!!!!
ReplyDelete